
In our last article, we covered the LearnDash Courses menu and its settings. Today we’ll continue and talk about the Lessons menu, which is quite interesting.

The LearnDash structure is: Courses, Lessons, Topics, Quizzes, and Questions. Lessons work best if you think of them as modules. Inside a course, you add these modules, and inside them you add the topics (classes).
Adding a lesson (or module) is straightforward. You can do it directly from the Builder inside a course, or go to the Lessons menu in the LearnDash tab and click + Add New Lesson.
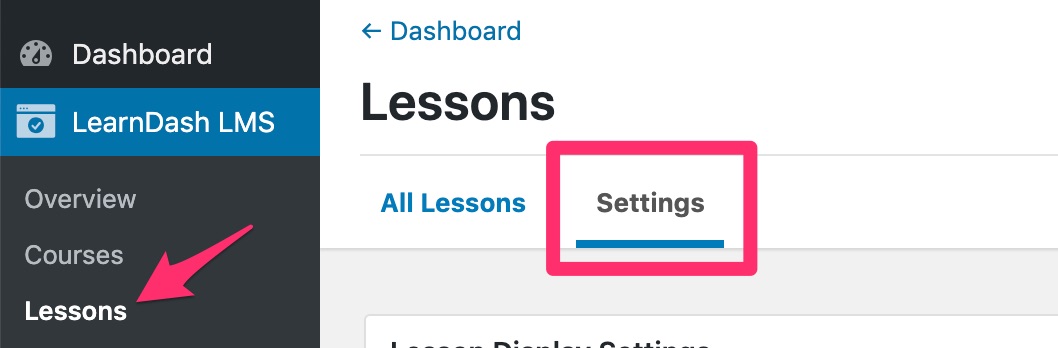
If you create a standalone lesson and want to add it to a course, here’s how:
- Create the Lesson.
- Save/Publish it.
- Go to LearnDash LMS → Courses.
- Edit the course.
- Open the Course Builder.
- In the left column, find the lesson you created.
- Drag it into the course.
Still in the Lessons menu, in the top right, you’ll see an “Actions” option that lets you add categories and tags to lessons.
When you open the editor for a lesson, you’ll notice it only has two menus: Lesson Page and Settings. Unlike the Courses menu, Lessons don’t have a builder.
Check out our full LearnDash guide for beginners.
Lesson Page
In this menu, you can add information about the lesson. Since I like to think of lessons as modules, you can add any information relevant to a particular module that covers a group of classes. It could be an introduction to what the student is going to learn, some important notes, and so on.
Settings
Lesson Materials
This option lets you add materials for the student to download or access, such as PDFs, links, and anything else you’d like to include. LearnDash will create a tab on the lesson page for these materials.
Video Progression
This option requires the student to watch the entire lesson video, after which LearnDash automatically marks the lesson as complete. However, if you add materials to this lesson, this option won’t work, and the same applies to assignments, since these are different completion rules. After all, if the student needs to download a file, they can’t be automatically redirected after watching a video.
How does Video Progression work?
When enabled:
- You insert a video into the Lesson.
- LearnDash monitors the player.
- The student needs to watch it to the end.
- The completion button stays locked.
- Once the video finishes, the Lesson can be marked complete.
Depending on your settings, the button may appear automatically.
Assignment Uploads
Here you can enable students to submit assignments. You can specify accepted file formats such as PDF, DOC, JPEG, etc., as well as the maximum file size.
One tip: make sure to inform students about the assignment either on the Lesson Page or in a dedicated topic, because this option only displays the Assignment section above the lesson content but doesn’t let you describe the task within the settings themselves. You can also award points when a student submits an assignment.
Grading Type
Here you have two options: Auto-approve, which automatically approves the assignment when it’s submitted, or Manually grade, where the assignment needs to be reviewed by an administrator or group leader. Once submitted, assignments go to the Assignments section in the LearnDash menu.
To make this work smoothly, you can use a notifications add-on like LearnDash Notifications to alert the administrator when a new assignment is ready for review and to notify the student when their assignment has been graded.
You can also configure the file upload limit and allow students to delete their own files, which I’d recommend leaving enabled. A student might accidentally upload the wrong file and would otherwise have to contact your course support to have it removed.
Forced Lesson Timer
This option forces the student to stay on the lesson for a set amount of time. They can’t open the lesson and mark it complete right away if you’ve configured the timer for, say, 50 minutes.
When is it useful? This is generally a good fit for compliance scenarios, data protection training, and mandatory corporate training where courses need to prove a minimum number of hours completed. For most online courses sold to the public, it’s not particularly necessary unless you have a specific reason for it.
Sample Lesson
This makes the lesson free to access. Commonly used to give visitors a taste of the course, letting them watch a lesson or a module for free before deciding to enroll.
Lesson Release Schedule
Here you configure whether the module becomes available immediately when the student enrolls, after a set amount of time, or on a specific date. This is a great option for drip content: the student needs to stay on your platform over time, gradually unlocking content as they progress. It works great for online schools where lessons can be automatically scheduled to release every Monday, for example.
External Lesson
This feature lets you create a lesson that takes place outside the platform, either in person or online. If you check “Require Attendance”, whether the class is virtual or in-person, an administrator will need to mark the student as attended before they can move on to the next lesson. If attendance is not required, the student can continue the course on their own.
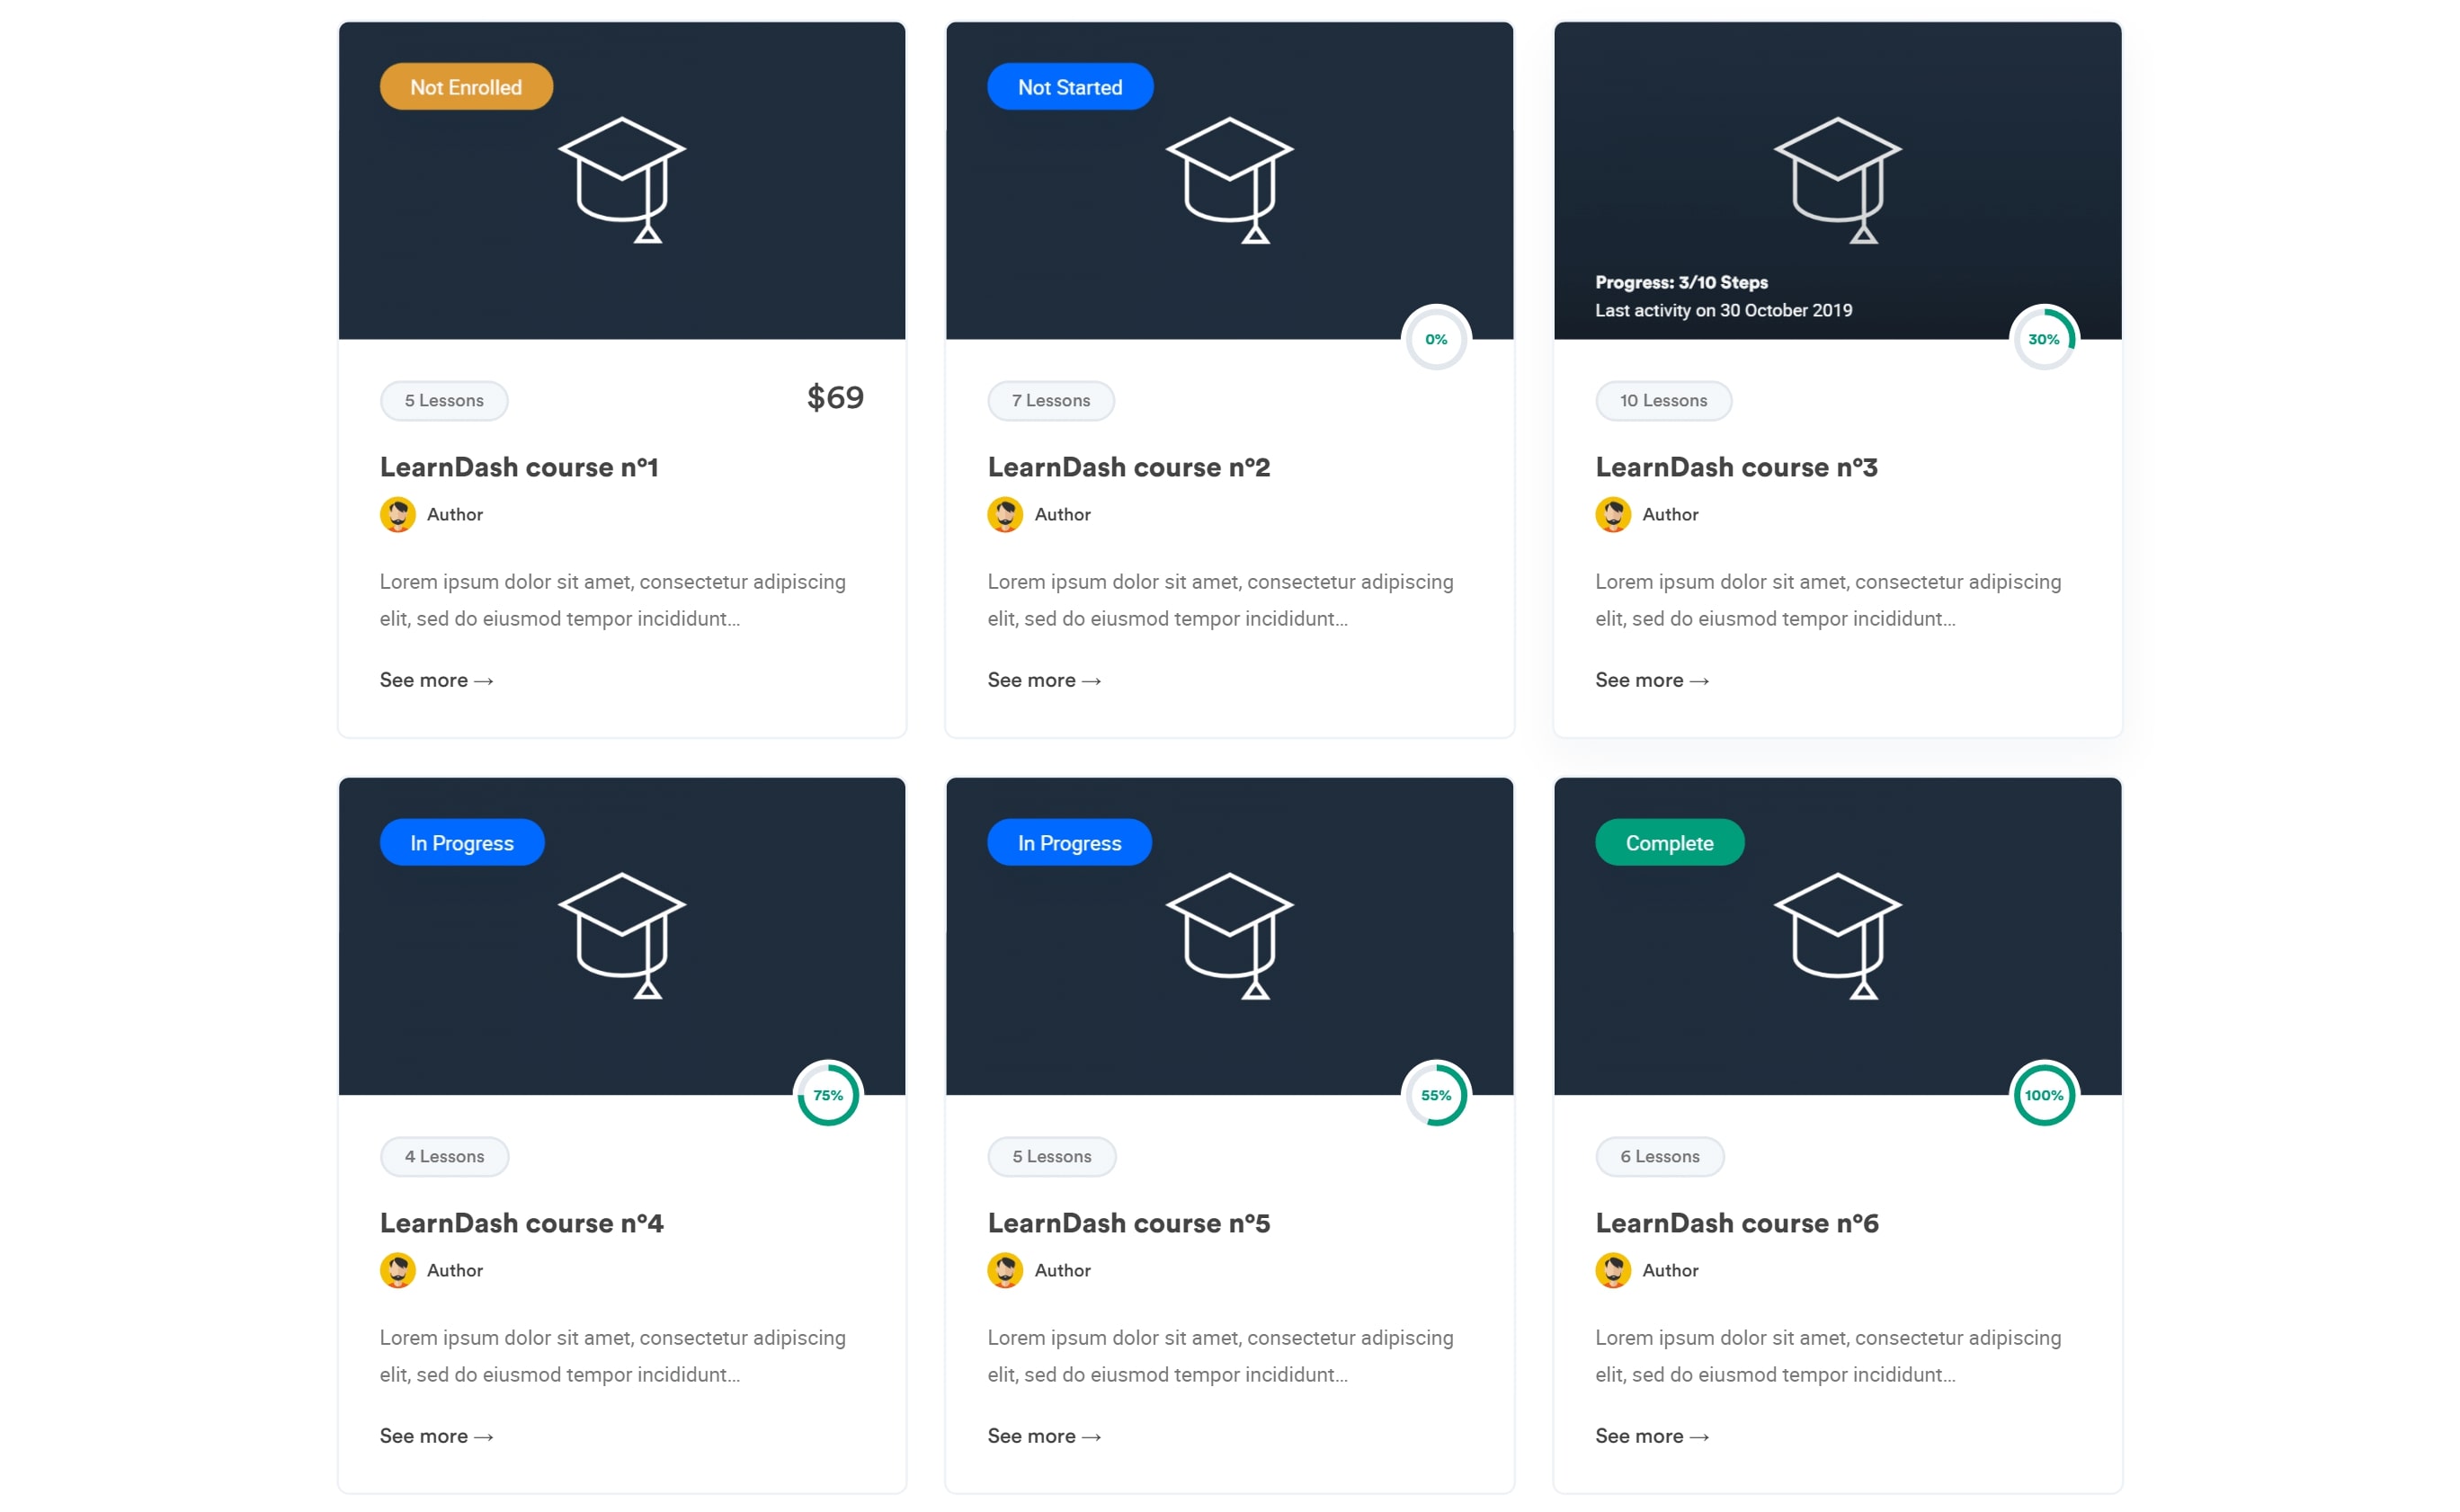
LearnDash Course Grid Settings
Short Description: a short description used for the course grid. If you want to display this lesson somewhere on your site and need it to have a short description, this is where you add it.
Duration: you can enter the estimated duration of the lesson, which will also appear in the course grid.
Enable Video Preview: if you’ve added a video to the Lesson Page and want it to appear as a preview when using the shortcode, enable this.
Custom Button Text: lets you add specific text for when this lesson is shared on your site, such as “Take this lesson”, “Read more”, “Enroll”, etc.
Custom Ribbon Text: adds a ribbon to highlight the lesson in the grid, for example: “Free lesson”, “New lesson”, etc.
Lesson Global Settings
In the global Lessons settings, you have fewer options, but these are global and will affect all lessons.
Lesson Categories: lets you create categories for lessons, as well as tags. You can leave these enabled if you plan to use them. The two options below, “WP Post Categories” and “WP Post Tags”, aren’t necessary, since you’ll likely want to use LearnDash’s own tags rather than WordPress’s default ones.
Lesson Custom Post Type Options
Lesson Search: allows lessons to be found when searching in a WordPress search box. You can limit this to logged-in users or enrolled students only.
Archive Page: a page that lists all your lessons, like an archive of your lesson library.
RSS/Atom Feed: enables a feed for lessons. Since feeds are mainly used for blogs, I wouldn’t recommend enabling this.
Editor Supported Settings: defines which features are available when editing a lesson, such as Featured Image, Revisions, Custom Fields, and Comments. Generally, Featured Image and Revisions come enabled by default, and I’d leave it that way.
That wraps up our look at the Lessons area. Next up will be Topics. I hope this helps you better understand the LearnDash architecture.
I hope this guide was helpful. If you need LearnDash development and implementation, please reach out to us!





[…] the previous articles, we covered everything about the Course and Lessons menus in LearnDash, and now it’s time to learn about the Topic […]
[…] Read the full guide to the Lessons menu → […]